How to Make Couples Look Good
One of the most sought after skills is that of making your couples look good on their wedding day. Many photographers ask questions such as: how do I make my brides look slim, how do I photograph my couples so they look good and other similar ones. I use these tricks in all my events as you can see in these galleries: Chateau Le Parc wedding, King Edward, Storys Building and many others.
Without further ado, here are a few techniques I learned from masters such as Jerry Ghionis, Ryan Schembri and other top wedding photographers of the world.

1. Posing
As a professional photographer, I always strive to shoot the images perfect in camera and posing plays an important role. One needs to understand the anatomy of the human body to be able to pose properly the bride and groom.
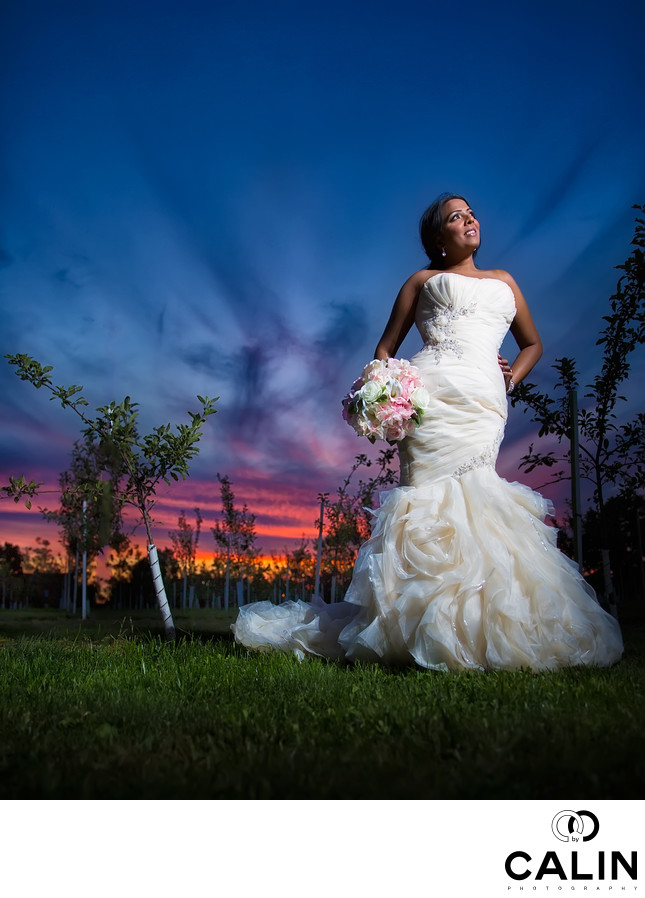
Here are the directions you should give your bride: feet close together, point the toe to the camera, bend your knee, pop the hip, lean a bit forward and leave a gap between the hands and the waist.
All he above directions help portray the much coveted hourglass shape of the female body. Leaning forward achieve another objective: through distortion, they make the chest look fuller, the eyes look bigger (hence sexier) and the tummy look smaller. Also, leaning forward helps with the double chin area and by ensuring there is a space between the hands and the waist, we accentuate the ratio between the shoulders and waist. Popping the hip also helps us hit the magic ratio between the waist and the hips (0.67-0.8). Scientifically, women whose waist to hips ratios range from 0.67 and 0.8 are healthier and more fertile.
2. Lighting
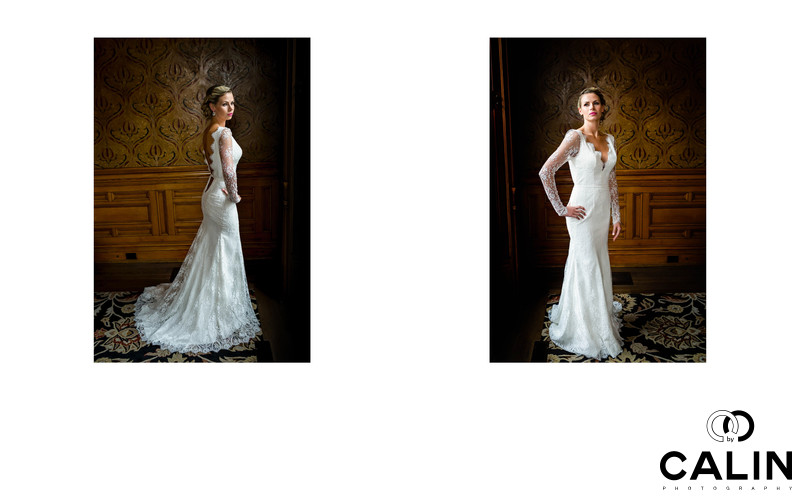
Shooting from the narrow side of the face is a sure solution if you want to make your subjects look slim. When you shoot from the shadow side of the face, you "loose" half of the face. The easiest way to slim the face is to turn the face towards the light or to instruct your assistant to "follow the nose." In other words, your assistant should point the light towards the bride's nose.
Turn the body away from the light and the face into the light. By turning the body away from the light, half the body is in shade as you can see in the album spread below. The bride had a gorgeous body and did not need any help looking good, but I think she is shining even stronger with those refinements.

3. Lens Choice
Distortion is your friend or your enemy if you don't understand it. The best portrait lens is the 85mm full frame lens or its crop colleague, the 56mm lens (if you are lucky enough to shoot Fuji).
Most wedding photographers use a 85 mm lens for bridal portraits because it does not distort the human body. So far, nothing is probably new, but here is the kicker.
Use a wide angle lens to slim your subjects. WHAT? I thought the wide angle lenses make people look fat. Right?
In fact, the lens just distorts your subjects, but if you shoot in portrait mode (as opposed to landscape), distortion will work in your favour and make your subjects leaner and more beautiful. Now, don't go crazy: use a 35 mm or the widest one would be a 24 mm lens and try to shoot from the chest level.
4. Post production - Lightroom
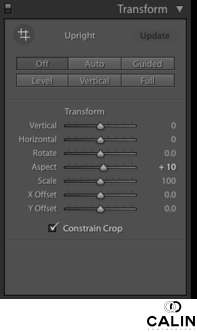
In Lightroom you can help your subjects shed a few good pounds if you go into the Develop/Transform module and drag the "Aspect" slider to +10 (+15 in the case of severely overweight couples). Also, make sure you click the "Constrain Crop" checkbox. I find that +10 gives a pleasant, yet natural look to your couples.

Pro Tip: create a preset in Lightroom so that at a click of a button you can obtain that effect. I created four (Skinny 10 landscape, Skinny 15 landscape, Skinny 10 Portrait, Skinny 15 Portrait) as I find the tool looks differently in portrait and landscape photographs.
5. Post production - Photoshop
Photoshop gives you a lot of control and during a Creative Live class with the great Yervant, I learned a quick trick on how to enhance the human body using Photoshop. I highly recommend purchasing that class and here is one of the tips similar to the one above (in Lightroom).
The main idea of this process is to stretch the image by a few percents so that the bride and groom look slimmer.
Here are the steps:
- Open image in Photoshop
- Press Command+T to select the whole surface of the photo
- Drag the top margin of the image upwards until the subjects look slimmer, but realistic
- Press Enter and save the picture
You are done now!
Another more sophisticated way of targeting problem areas of my couples is the liquify tool, but that will constitute the subject of another article.
If you liked this tutorial, please make sure you check some of our work, such as the Chateau le Parc wedding, Storys Building wedding or the a big day at Thompson Hotel Toronto.